Shoulder Trainer
Built the feedback system for a shoulder reduction training device, using a laser and photoresistor array to track joint movement and score accuracy in real time.
Problem / Goal
Medical residents typically learn to reduce dislocated shoulders on live patients. The procedure requires applying significant force at a precise angle, and an imprecise attempt carries real risk. Our team was tasked with designing a training device that would let residents practice the mechanics of a reduction before a clinical encounter, with live feedback to help them build the skill.
What I Did
My focus was the feedback system. For the trainer to be useful, it needed to track how accurately the resident moved through the reduction, not just whether they completed it.
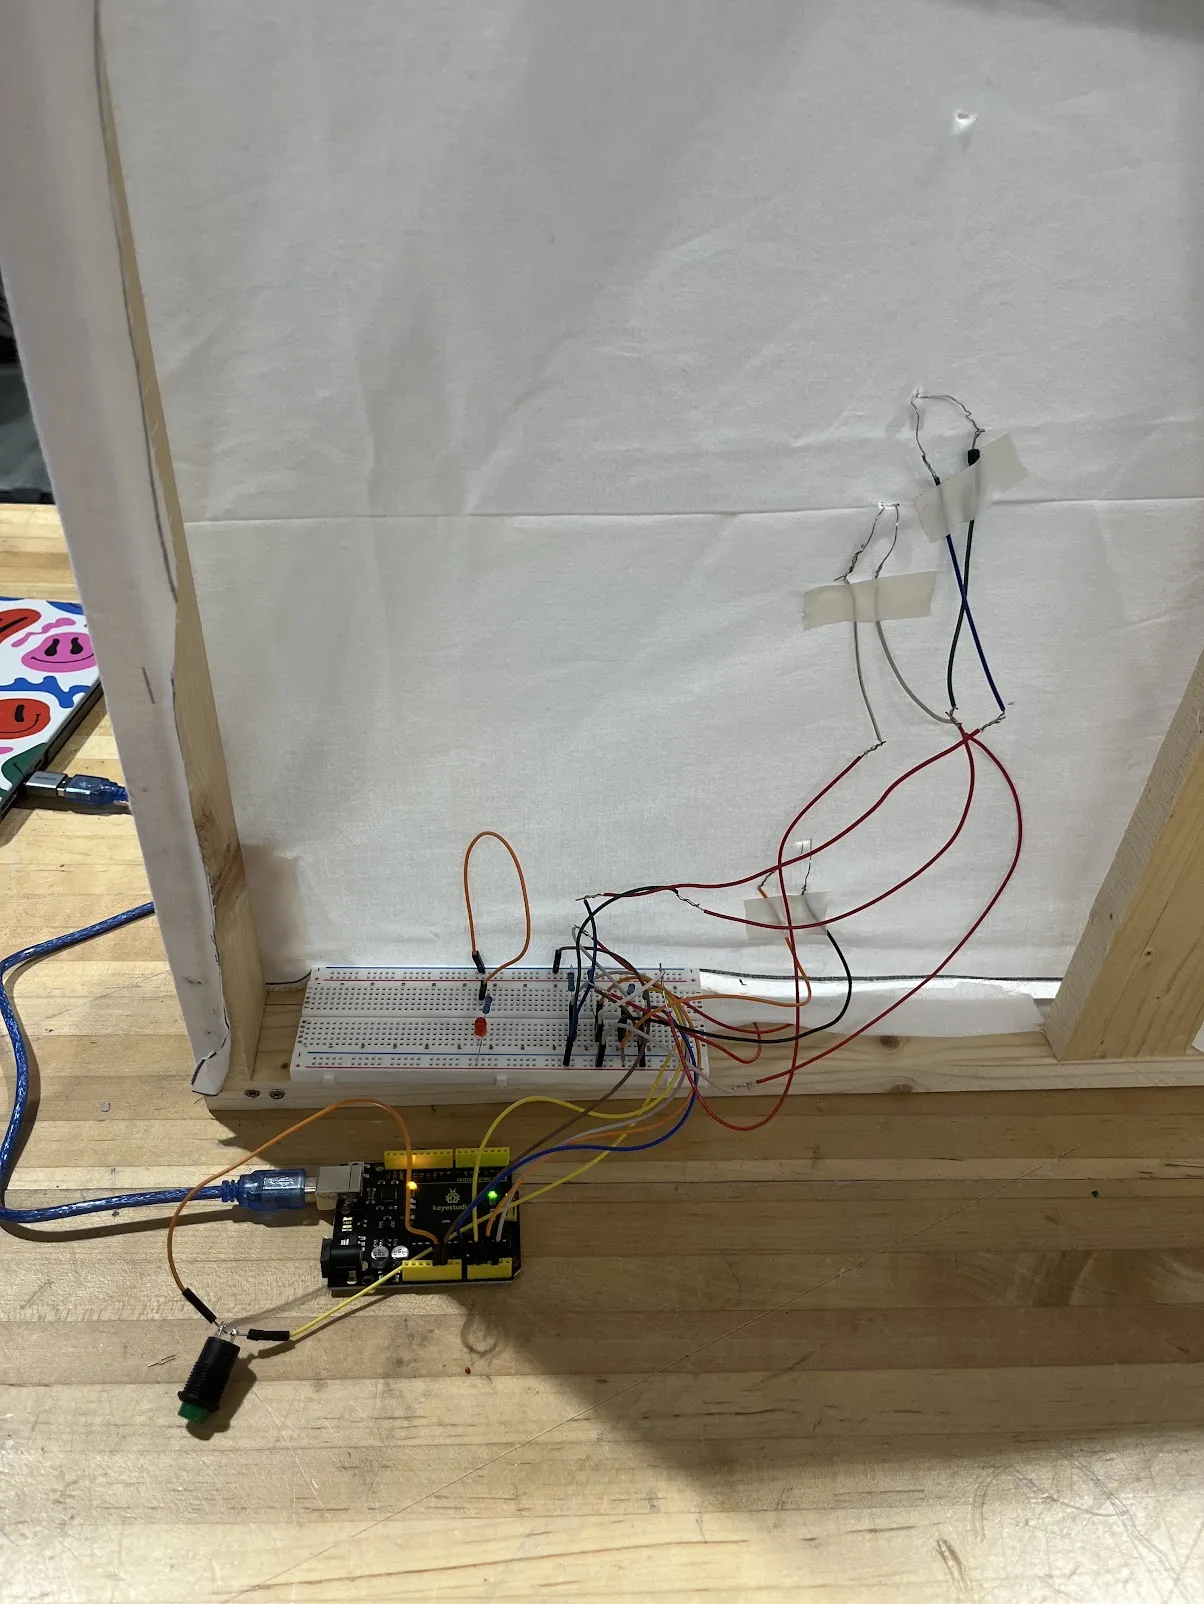
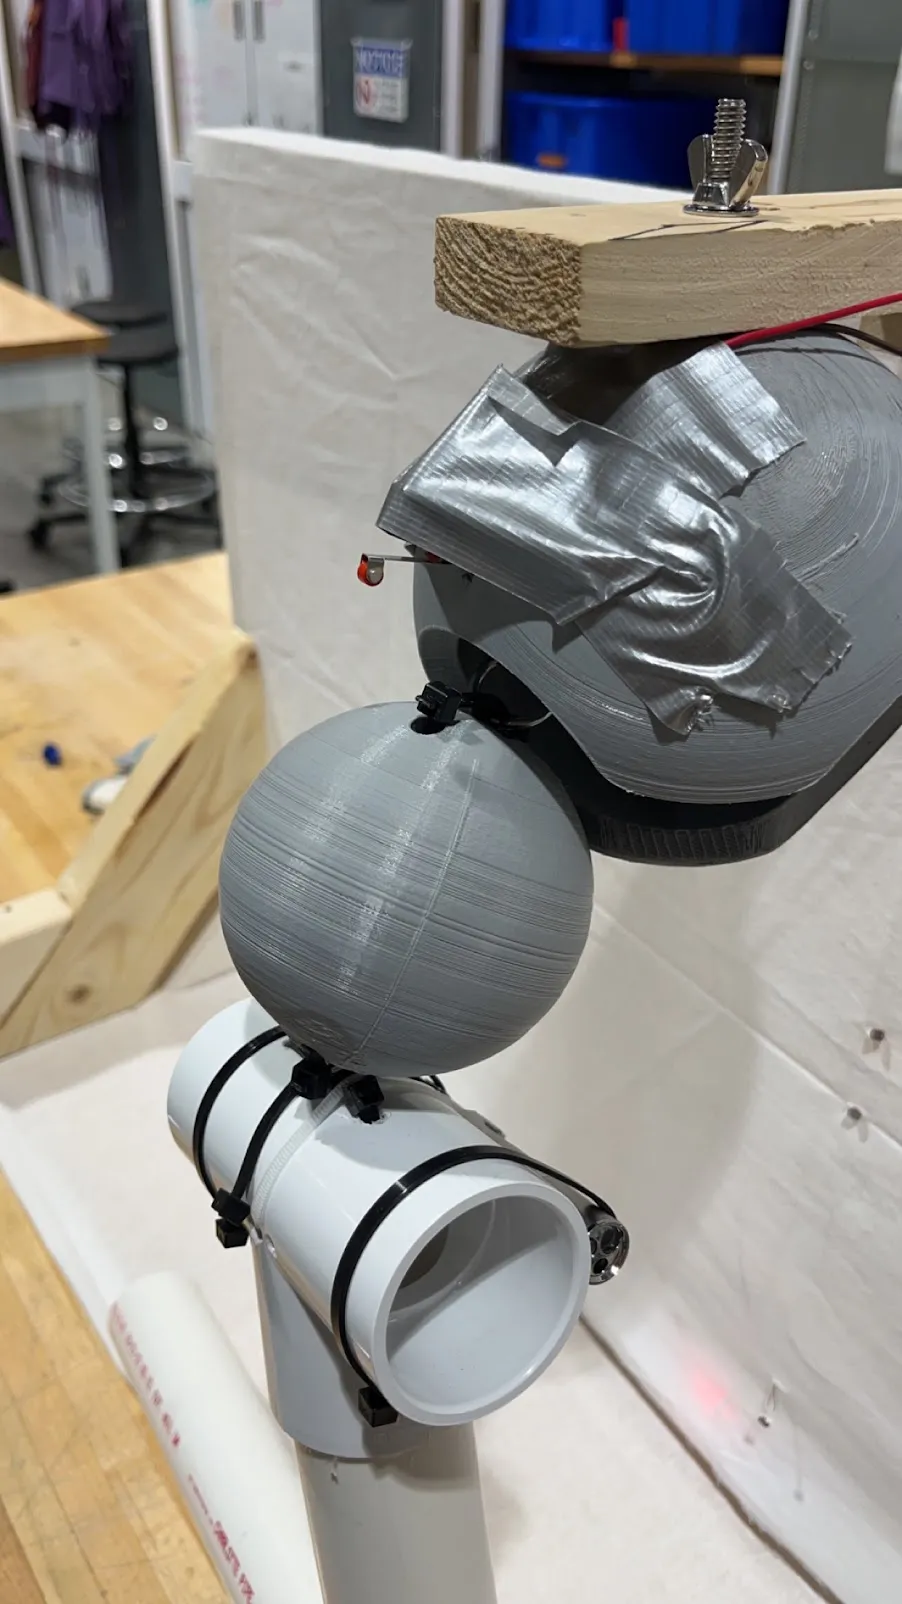
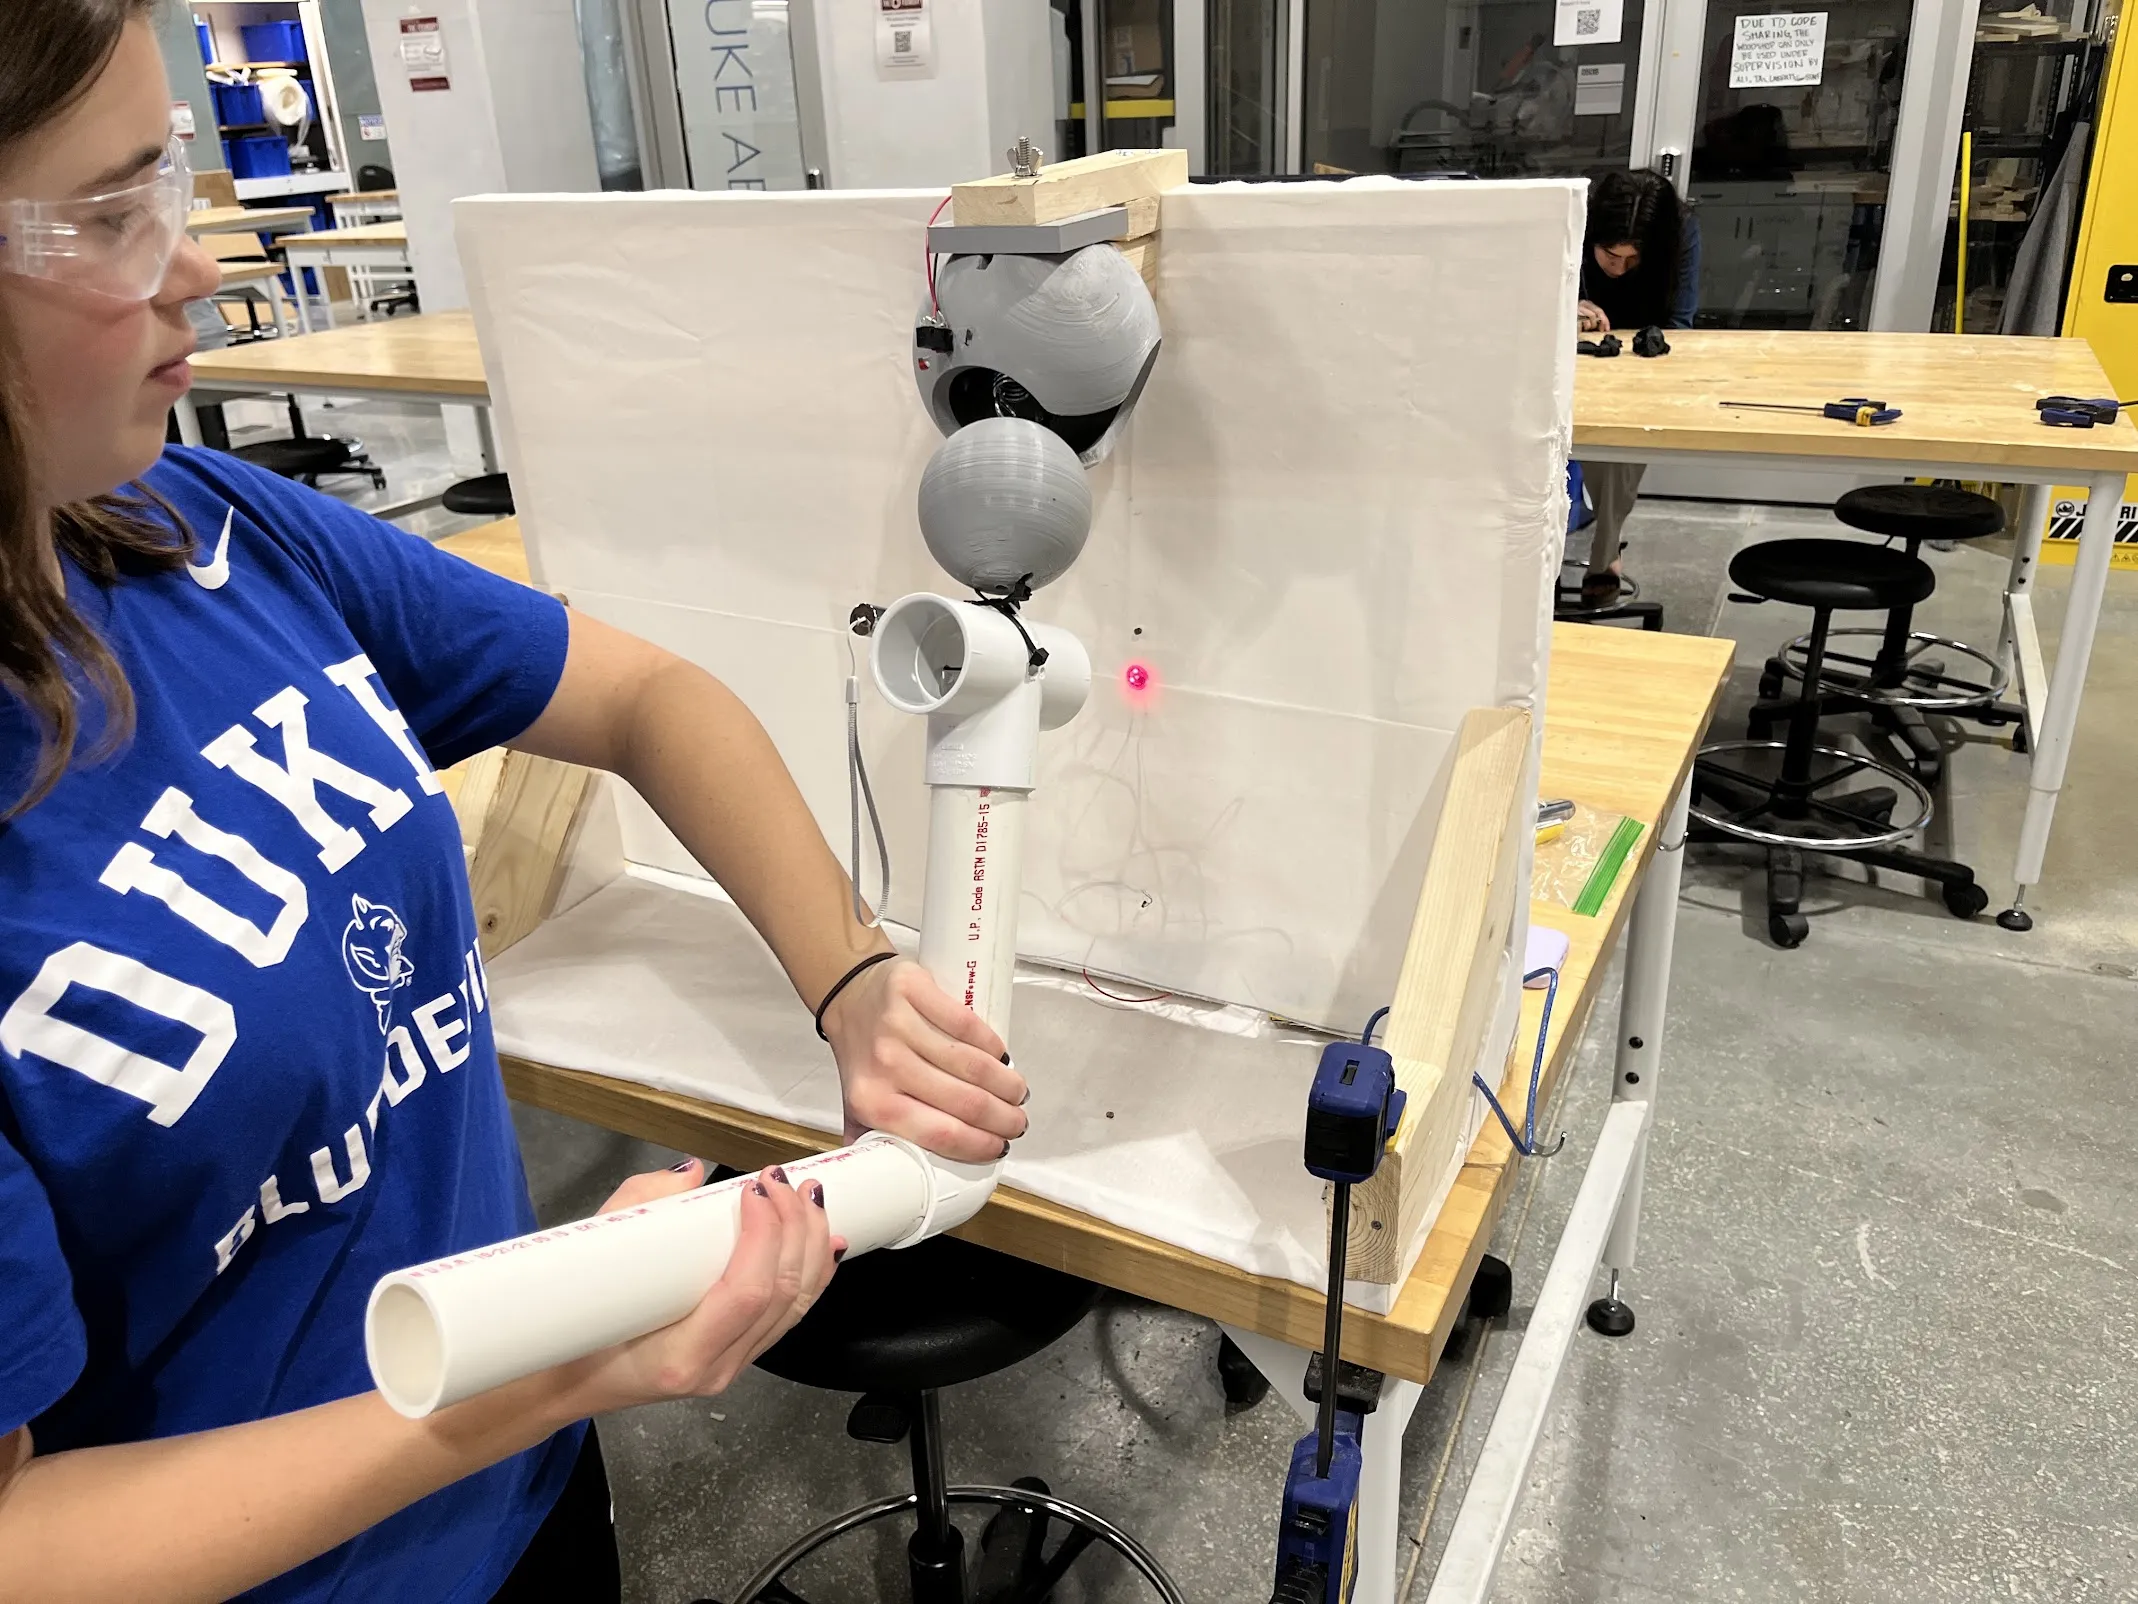
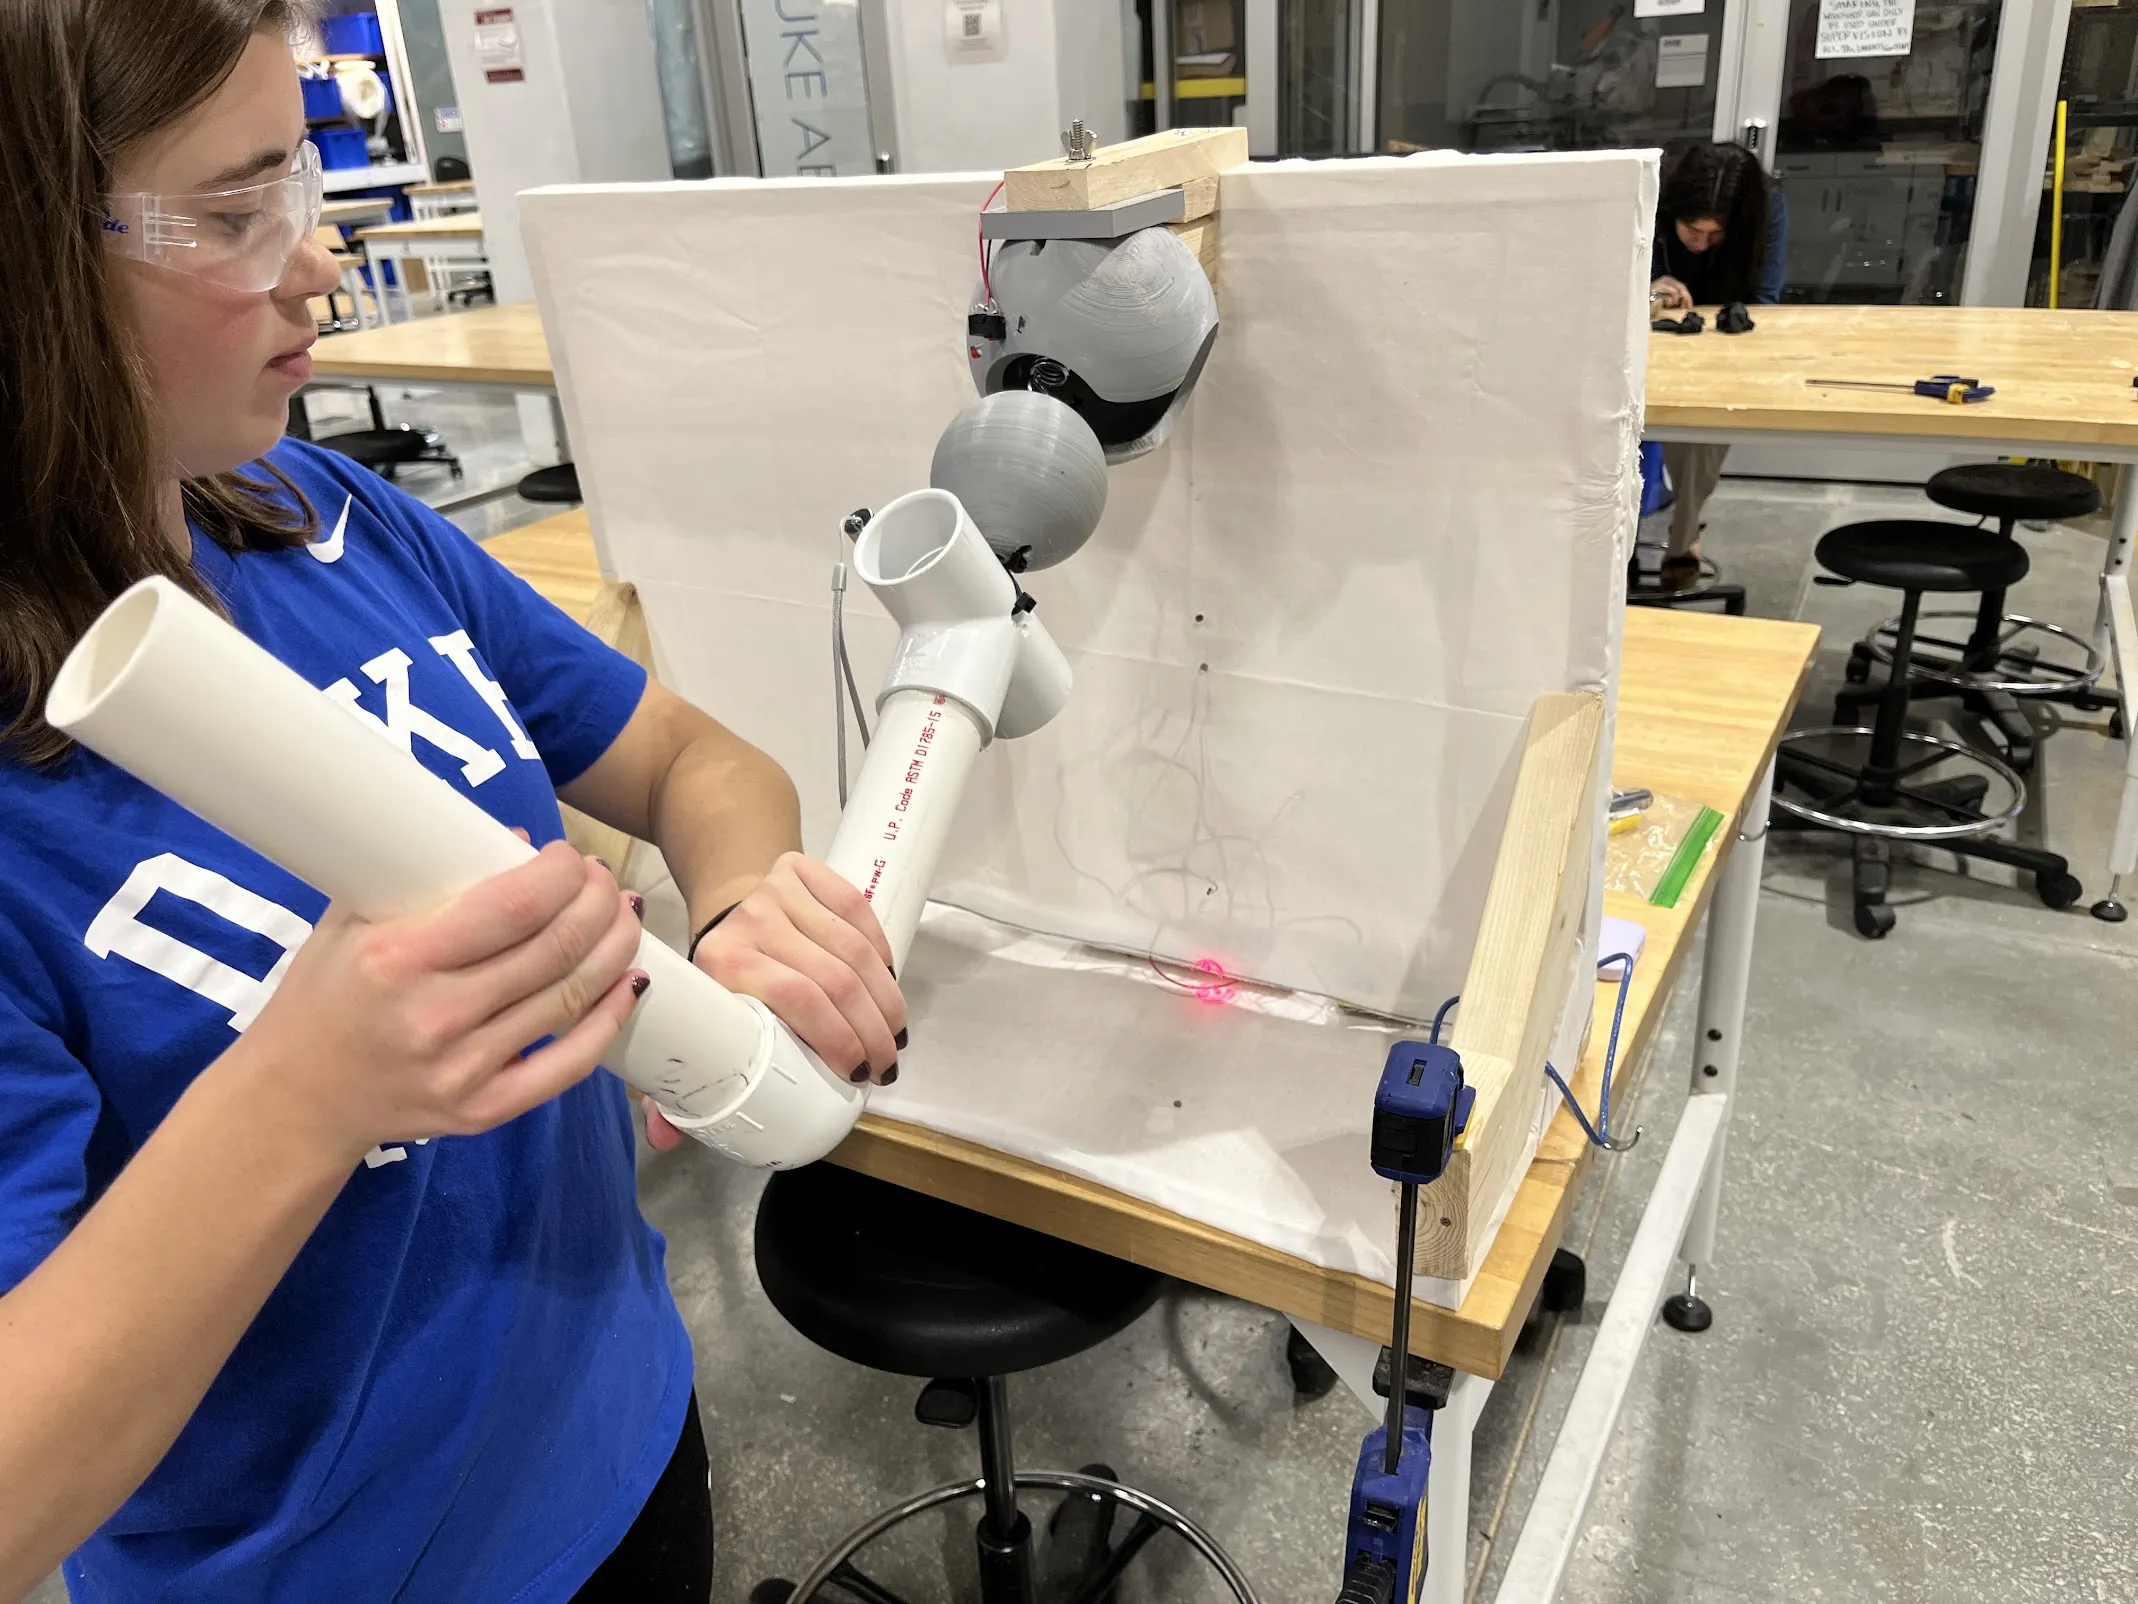
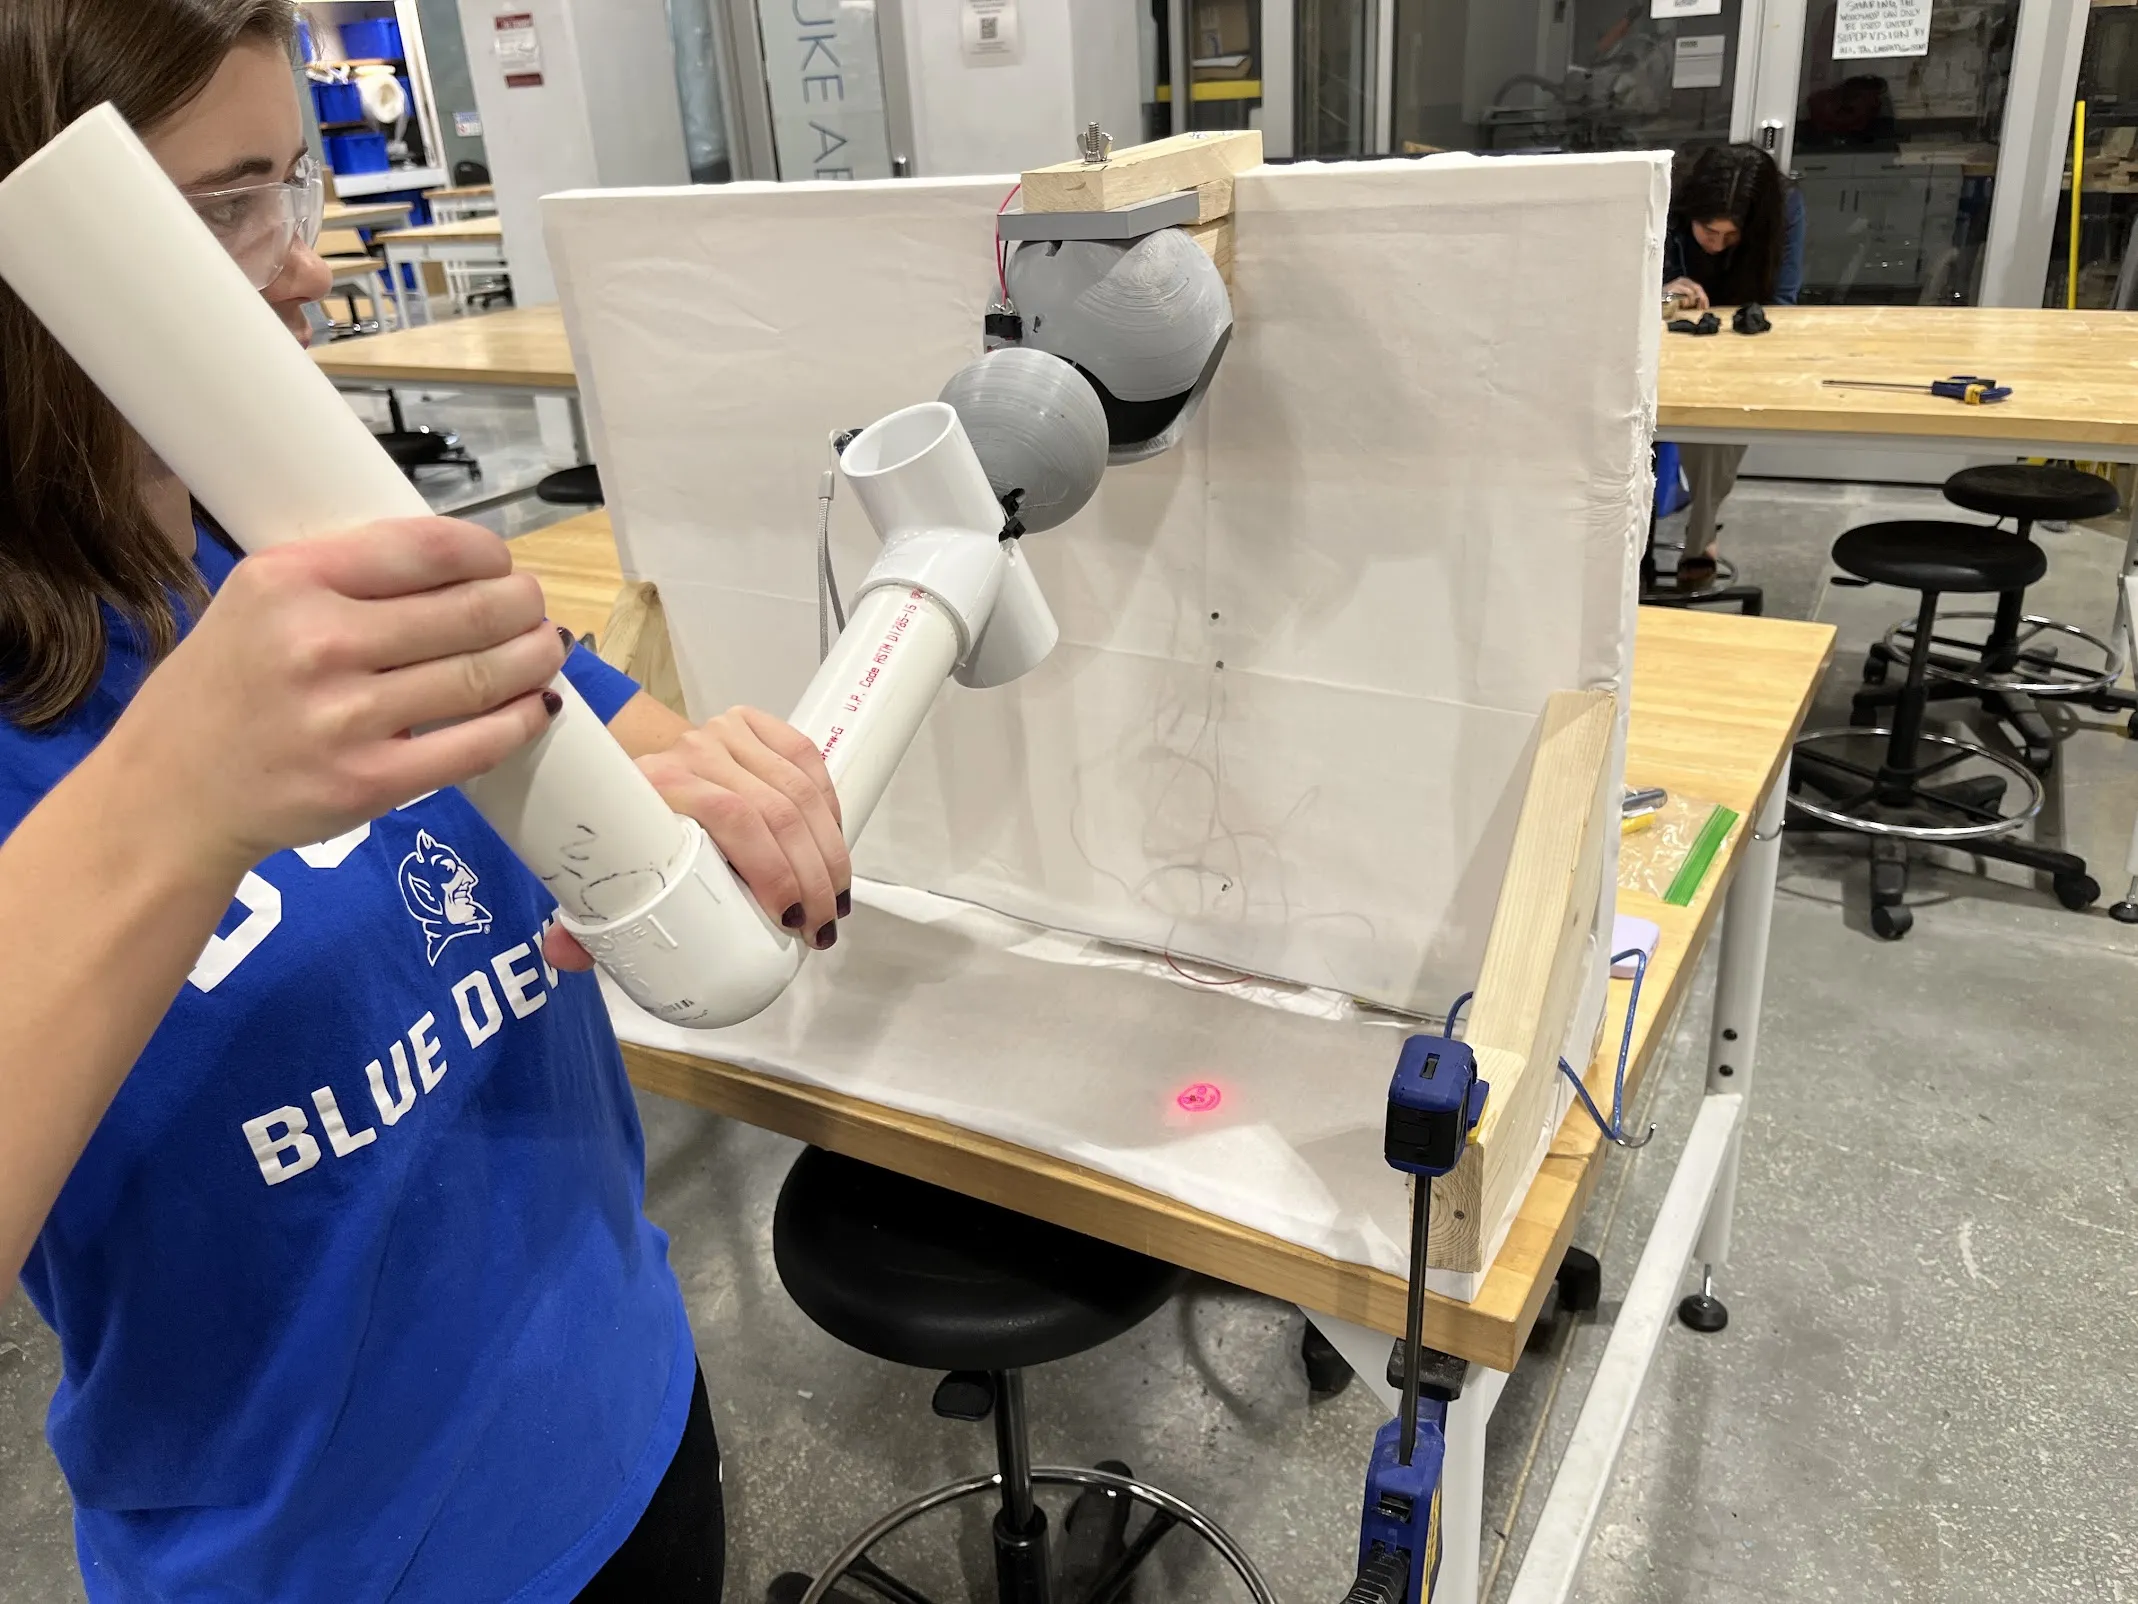
I designed a tracking system using a laser mounted to the base of the simulated joint and a grid of photoresistors embedded in a panel at the rear of the device. To score a successful reduction, the user had to rotate the joint along the correct path, hitting each photoresistor target in sequence. A limit switch at the top of the joint registered completion, and the system returned a score based on targets hit and time taken.
I built the electronics on Arduino, starting with breadboard prototypes and finishing with a soldered shield for the final version.
Results
The device received sign-off from our clinical client, Dr. Josh Broder at Duke University Hospital.
What I Learned
This was my first time integrating sensors and firmware into a physical system someone would actually use. Iterating on the photoresistor array taught me that real-world sensing is messier than breadboard demos suggest. Designing for a healthcare user also added a new constraint: feedback had to be immediate and unambiguous, or the trainer wouldn’t serve its purpose.